The installation and tiling of Vcomquartz artificial quartz stone surfaces require meticulousness and precise techniques to ensure the durability and aesthetics of the product. The following are basic instructions from Vcomquartz for this process.
Vcomquartz artificial quartz stone products are not only a combination of natural beauty and high applicability in modern interiors, but also a symbol of leading quality in the artificial stone manufacturing industry in Vietnam. With outstanding features such as durability, diverse designs and colors, Vcomquartz artificial quartz stone brings satisfaction and trust to users.
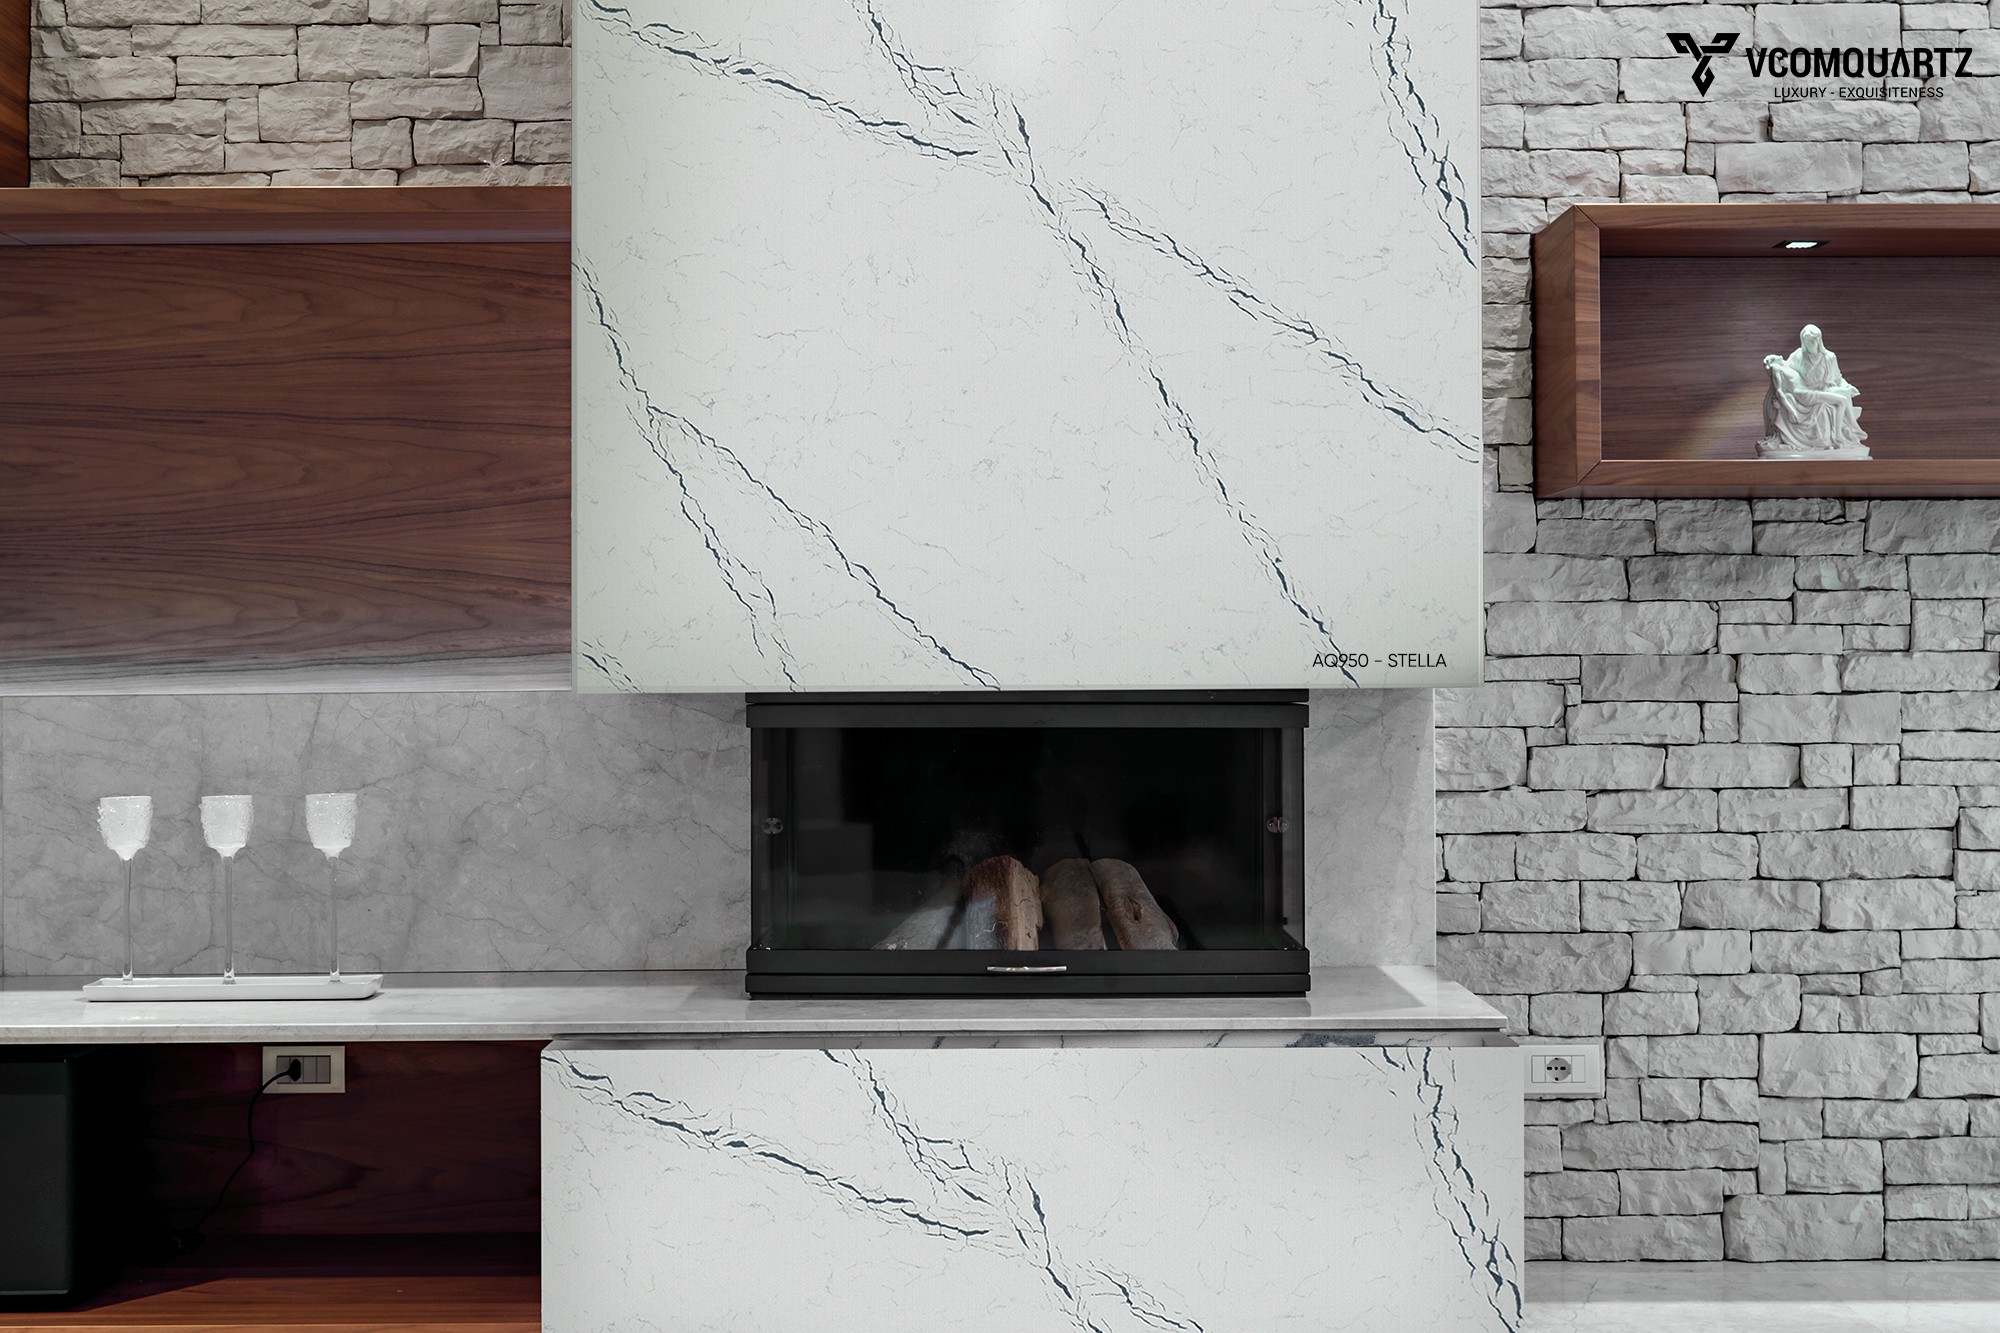
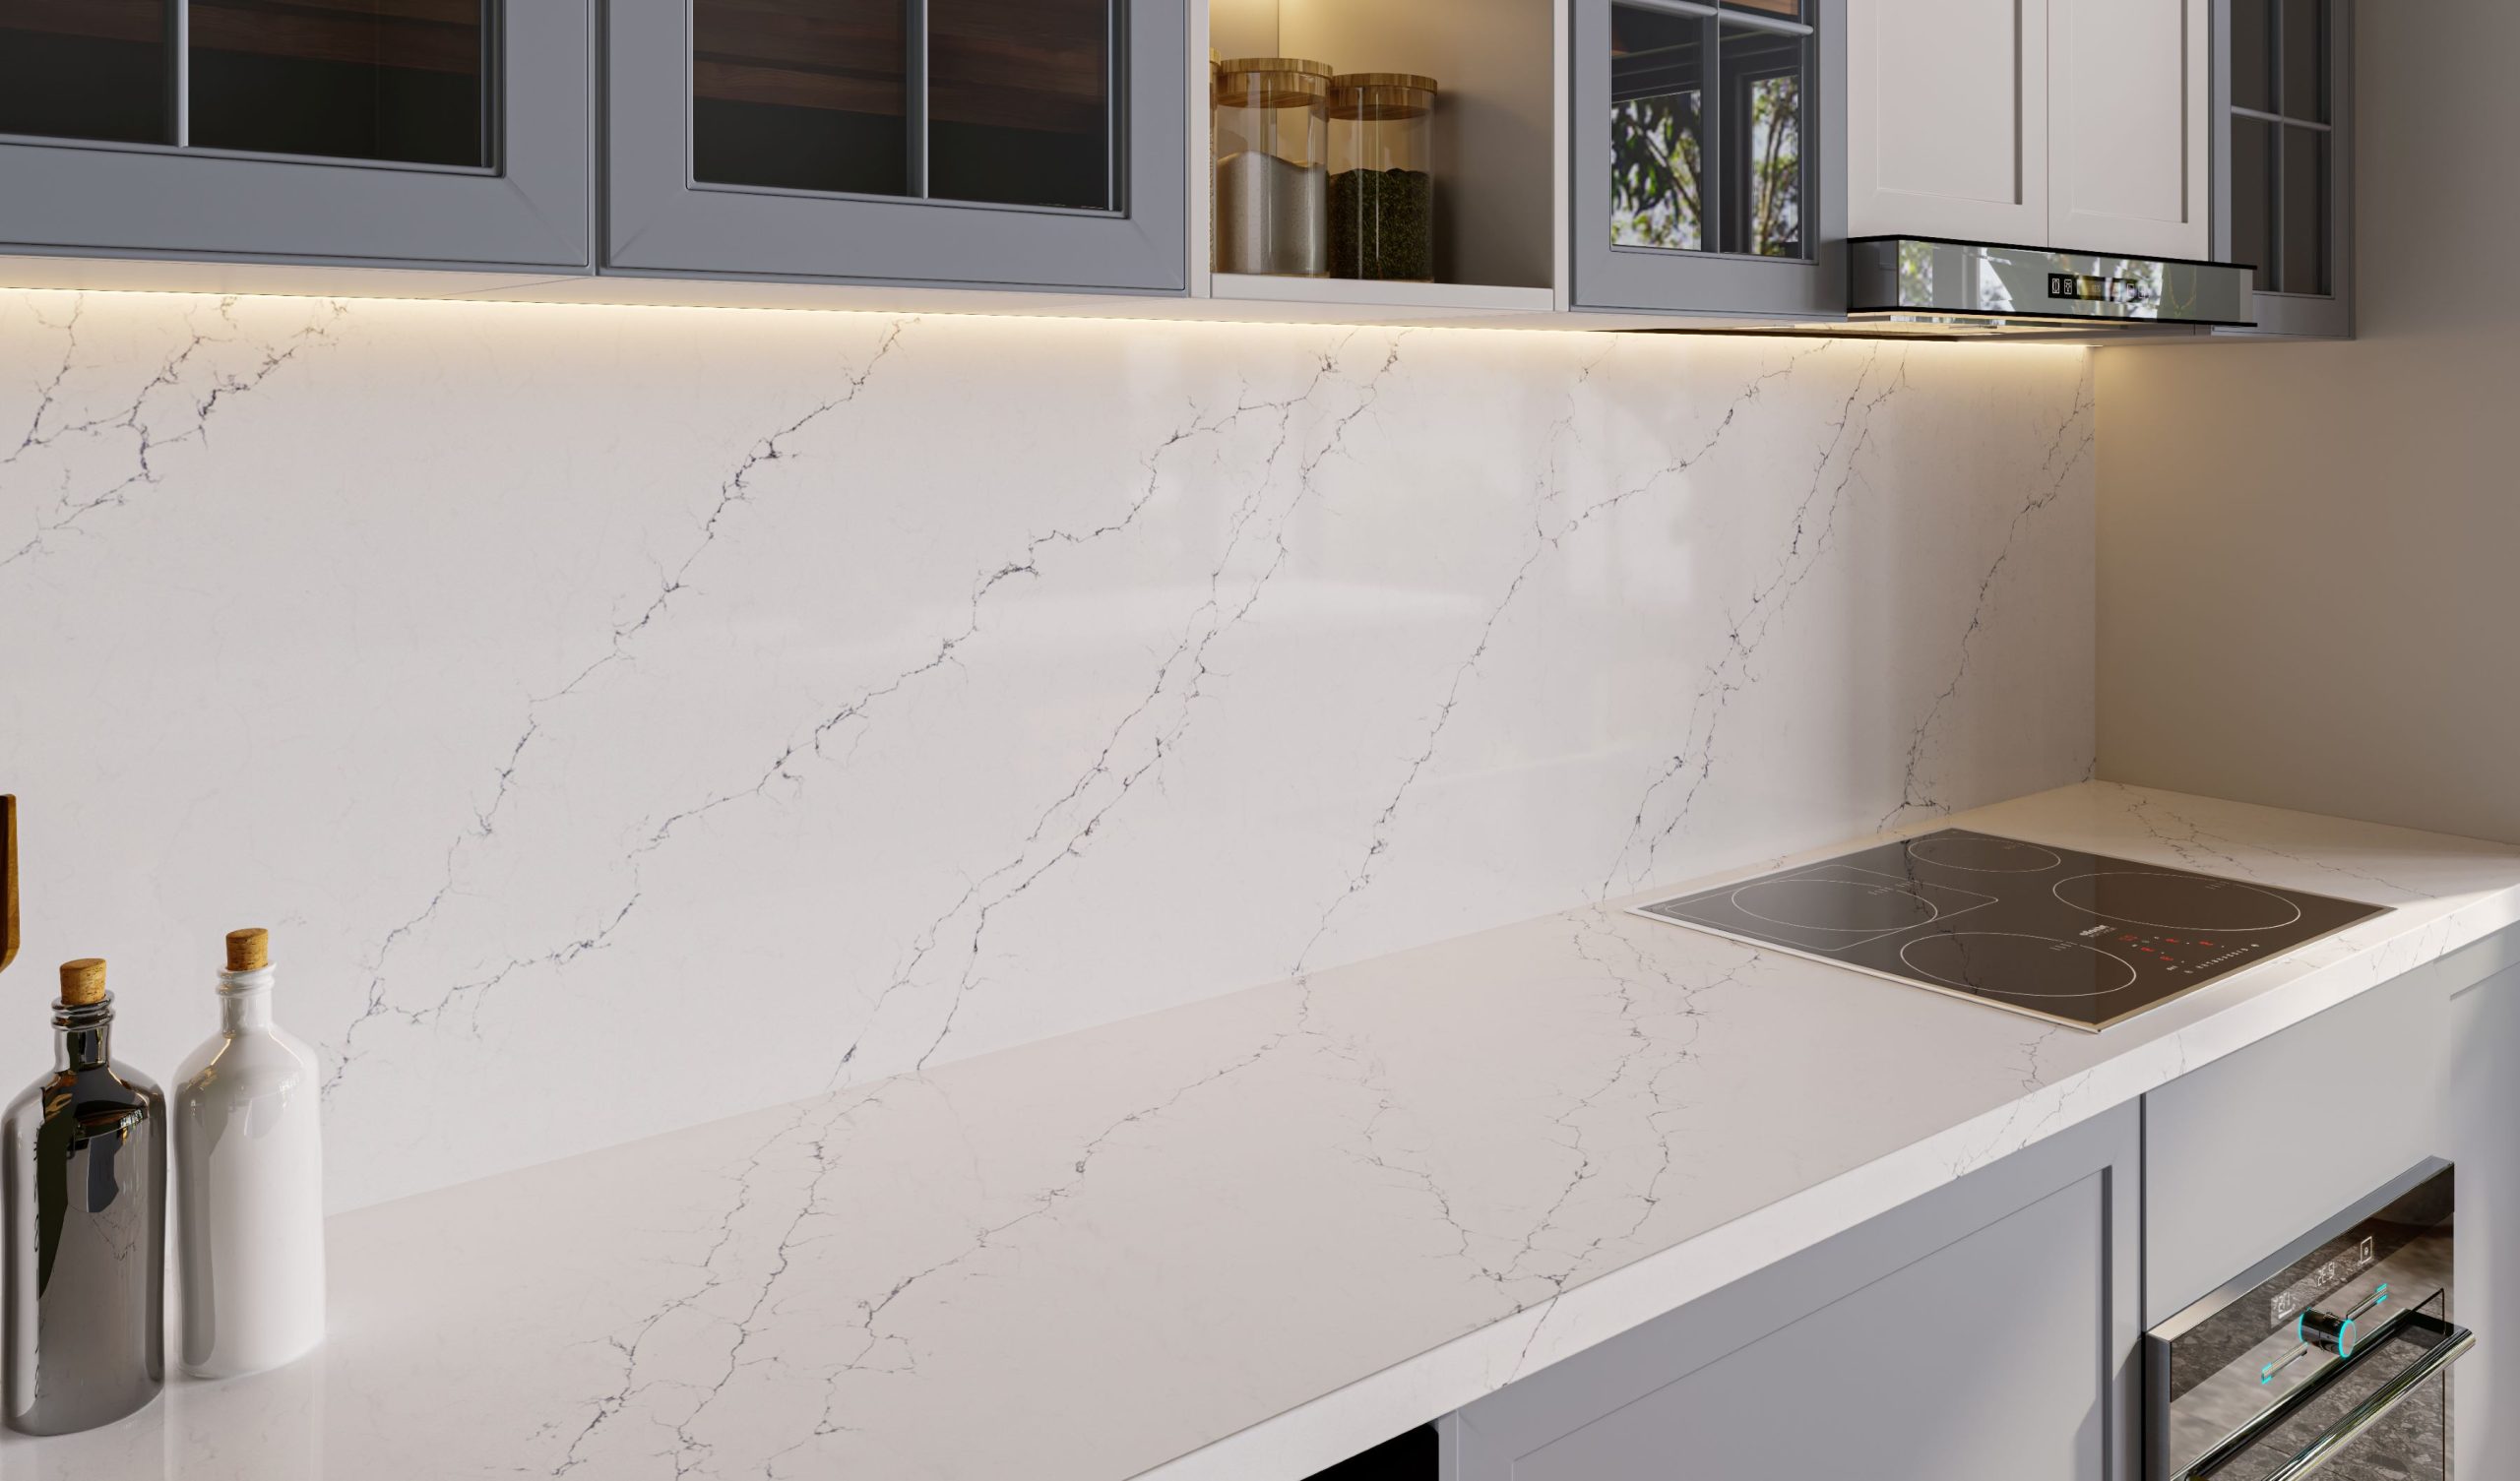
Vcomquartz artificial quartz stone is used to tile surfaces such as kitchen countertops, floors, decorative wall cladding, dining tables, sinks, bars, desks, etc., suitable for many interior styles from classic to modern.
When tiling stone, homeowners should hire a professional team with extensive construction experience to ensure a complete process including:
Step 1: Preparation
– Determine the size of the surfaces to be tiled
– Choose a stone pattern that matches the interior style and usage needs
– Determine the number of Vcomquartz stone panels to be used based on the size and design of the area to be tiled.
Step 2: Prepare tools and materials
– Tools for cutting stone, angle grinders, hammers, and other materials necessary for the construction process.
– Artificial quartz stone adhesive and other auxiliary materials.
Step 3: Prepare the surface
– Clean the surface to be tiled to remove dirt, grease, and other stains.
– Make sure the surface is flat and ready for tiling.
Step 4: Cut the stone & finish the stone panels
– Use a ruler and pencil to mark the cutting positions on the artificial quartz stone panel based on the measured size.
– Use a stone cutting tool to cut along the marked lines.
– Use a grinder or sandpaper to smooth the edges and surface of the artificial quartz stone, remove sharp corners and make the surface smooth.
Step 5: Installation
– Mix the stone adhesive: Follow the instructions on the packaging to mix the stone adhesive in the correct ratio.
– Make sure the glue is mixed evenly and there are no lumps left.
– Apply a thin layer of stone adhesive to the surface to be tiled and the back of the stone panel.
– Place the stone panel in the marked position on the surface to be tiled. Make sure the stone is in the correct position and use tools to adjust if necessary.
– Use a hammer to gently tap the stone panel, making sure it is tightly and securely attached to the surface.
Step 6: Clean up
– Use a damp cloth to clean the surface of the stone and remove excess adhesive, making sure there is no adhesive residue on the surface.
Step 7: Inspect and adjust
– Recheck all details and adjust as necessary to ensure the stone panels are all in place and secure.
Step 8: Wait for the adhesive to dry
Allow the adhesive to dry completely according to the contractor’s instructions before continuing to use the tiled surfaces.
In addition, Vcomquartz’s technical team also provides some important notes as follows:
– Make sure the surface to be tiled is completely clean, flat and dry before starting the installation. Any dirt, grease, or other materials on the surface can reduce the adhesion of the stone adhesive.
– Use a high-quality artificial quartz stone adhesive that is suitable for the environmental conditions of the project. It is necessary to choose an adhesive with good water and moisture resistance.
– If the homeowner uses more than 01 artificial quartz stone pattern for decoration, choose stone panels with similar colors and veins to create a uniform and harmonious surface.
– When using adhesive, make sure that the adhesive layer has an even thickness on both the surface to be tiled and the back of each stone panel to ensure effective adhesion.
By following these instructions, the installation and installation of Vcomquartz artificial quartz stone will be smooth and ensure the best results.


